First: work out how many pixels you need
Use the final figure size in the paper. A slide’s dimensions and its size in a journal are often different. For example, a 4-inch-wide figure needs 1200 pixels across for 300 PPI. Preserve the aspect ratio when calculating height.
| Final width | Minimum pixels |
|---|---|
| 90 mm | 1063 px |
| 180 mm | 2126 px |
| 4 in / 101.6 mm | 1200 px |
These are calculation examples, not universal journal column widths. Your journal may require a higher resolution for line drawings or figures combining text and photographs.
One slide exported at 96 and 300 PPI
The source slide is 4 × 2.25 inches. We exported the PPTX to PDF with LibreOffice Impress on macOS, then rendered that PDF to PNG at 96 and 300 PPI with Poppler. The sample files show the measured result of this PDF workflow. The Windows and Mac PowerPoint menus below follow Microsoft’s documentation.
Download the source slide (PPTX)
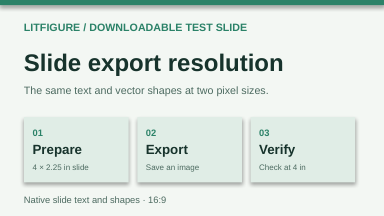
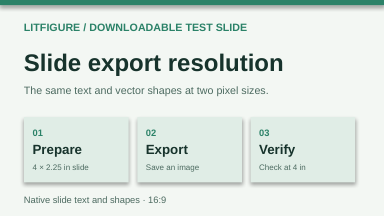
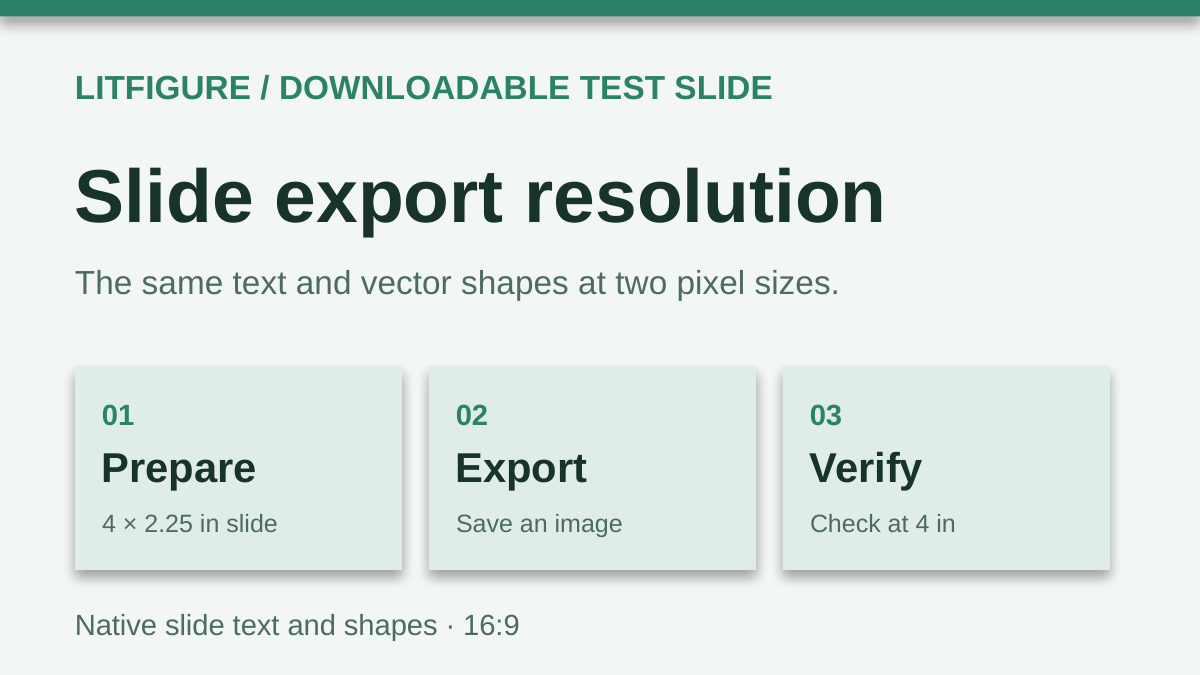
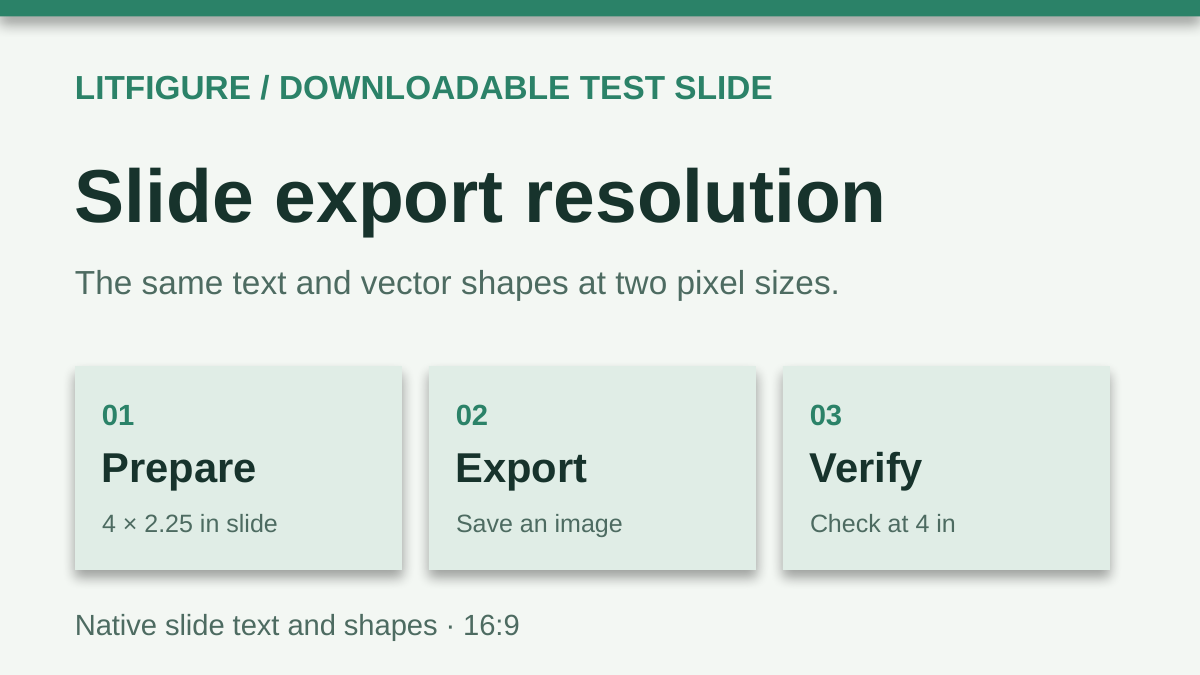
To reproduce the check, open either PNG in the Image DPI Checker and enter 4 inches (101.6 mm) as the final width. At a 300 PPI target, the 1200 px image meets the requirement and the 384 px image falls short.
Windows: set PowerPoint export to 300 DPI
Microsoft documents a registry setting for desktop PowerPoint. Back up the registry before editing it; on an institution-managed computer, ask IT if registry changes are restricted. The path below applies to Microsoft 365, PowerPoint 2016 and 2019 as listed in Microsoft’s guide.
- Close PowerPoint. Open the Windows Run dialog and launch regedit.
- Open this registry key:
HKEY_CURRENT_USER\Software\Microsoft\Office\16.0\PowerPoint\Options - Create or edit the DWORD (32-bit) value named ExportBitmapResolution. Choose Decimal and enter 300.
- Reopen the presentation. Use File → Save As, choose PNG or JPEG, and save the current slide as an image.
- Check the saved file below. For older PowerPoint versions, use the version-specific registry path in Microsoft’s instructions.
Microsoft: high-resolution slide export and version limits ↗
Mac: export the pixel dimensions you need
The Windows registry method does not apply to macOS. Microsoft’s Mac export instructions provide Width and Height fields for image export. Use your calculated pixel dimensions and verify the saved output, because dialogs can differ by version.
- In PowerPoint for Mac, choose File → Export.
- Choose PNG or JPEG as the image format and select the current slide.
- Enter the required pixel width and matching height in the image size fields. For a 3:2 figure printed 4 inches wide at 300 PPI, use 1200 × 800 pixels. Keep your own figure’s aspect ratio.
- Save the image and check its pixel dimensions at the intended print width. A different stored DPI tag does not automatically mean the export lacks pixels.
Verify the exported PNG or JPG
Open the free checker, choose the saved image, enter the final figure width and set the required resolution. It reads stored DPI separately from effective PPI. If the pixel count falls short, return to the source and re-export, then check the new file.
Open the free Image DPI Checker → · Or convert the export with the DPI Converter →
Why a 300 DPI export can still look blurry
Exporting more pixels can render native slide text and shapes more finely. It cannot restore detail already missing from screenshots or compressed photographs placed on the slide. Inspect each panel and small label at the final size. Do not use AI upscaling to invent detail in research data.
What about TIFF or vector PDF?
Follow the journal’s accepted formats. A PNG/JPEG check only describes that file; conversion to TIFF should preserve pixel dimensions and still needs verification. PDF can preserve vector content, but embedded raster panels retain their own resolution limits. This checker does not inspect TIFF, PDF or individual slide objects.
Resolution is one part of figure preparation
A passing pixel count does not verify font size, scientific labels, scale bars, image integrity, color mode or every journal rule. Check the current author instructions and review the scientific content before submission.
Reference: Elsevier artwork sizing ↗
This guide follows the linked documentation. PowerPoint menus and export limits vary by version; verify your actual output with the checker.